
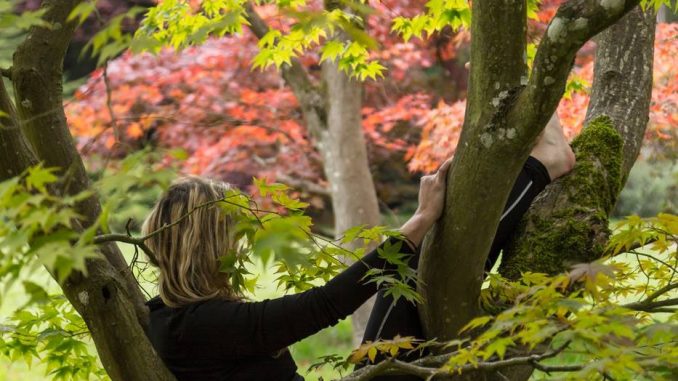
Taken from Lynne’s weekly column ‘Green Scene’ for the Western Mail
16th November 2019

Buzz Off
 A reader contacted me last week as they had noticed several large wasps in their home and were worried that they had a nest in the house.
I have had several wasps buzzing about in my in the cottage too, but they are only Queen wasps trying to hibernate for the winter. They can be intimidating as they are quite large and tend to be a bit dozy and clumsy at this time of year. They had probably found somewhere to cwtch into already and when you put the heating on, the warmth will have woken them up prematurely.
They are usually easy to catch with a cup and piece of card and then simply tip them outside to find alternative accommodation.
Lovely Leaves
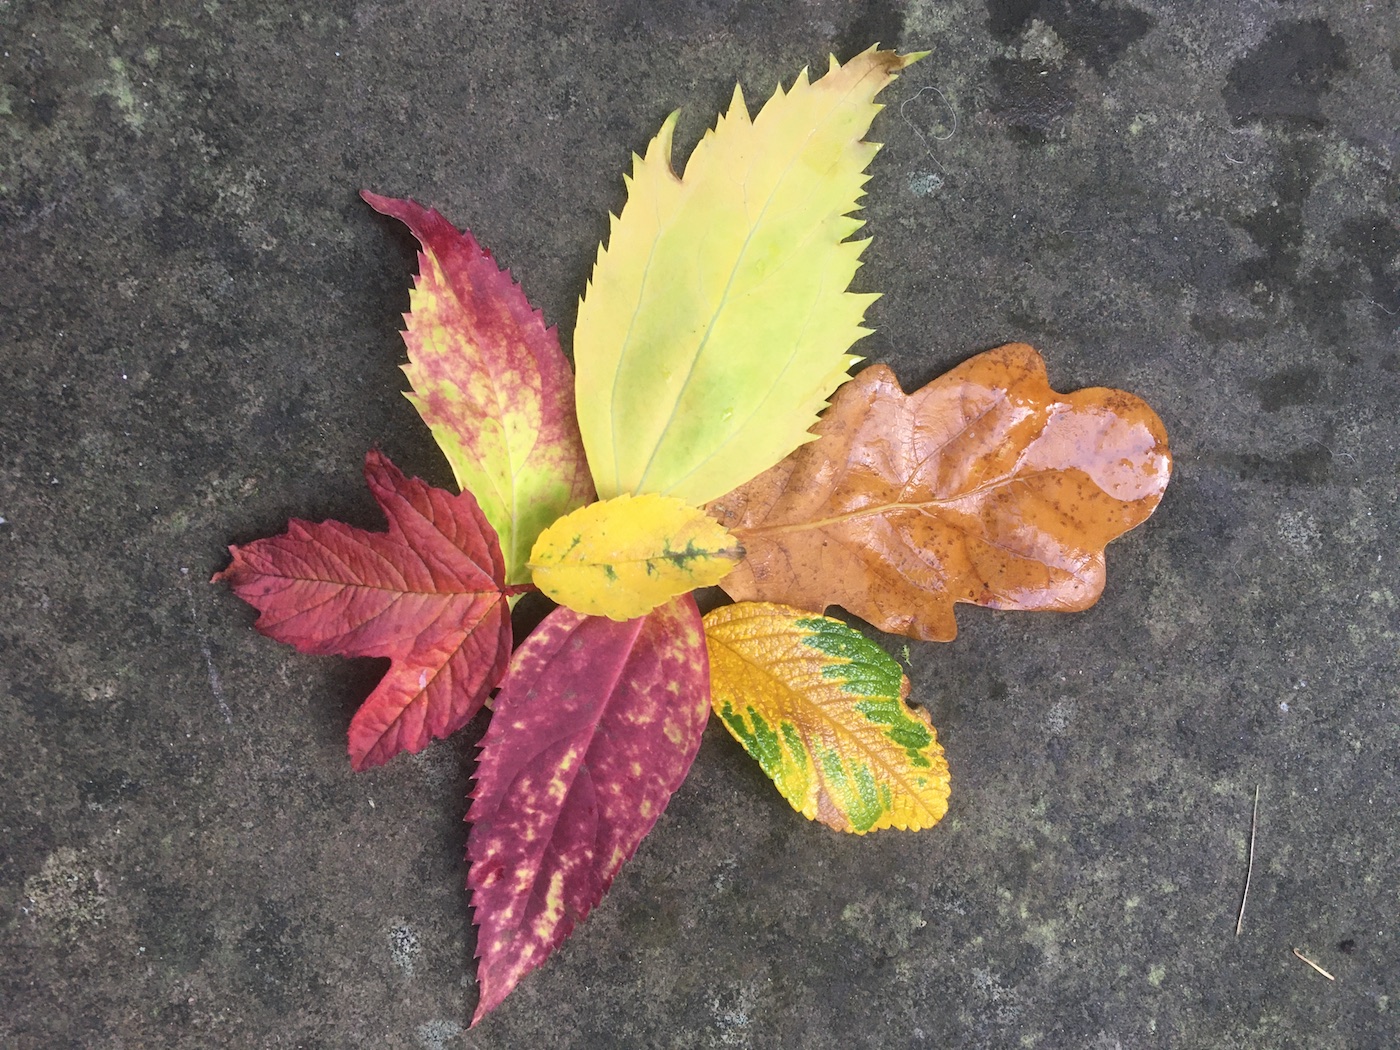
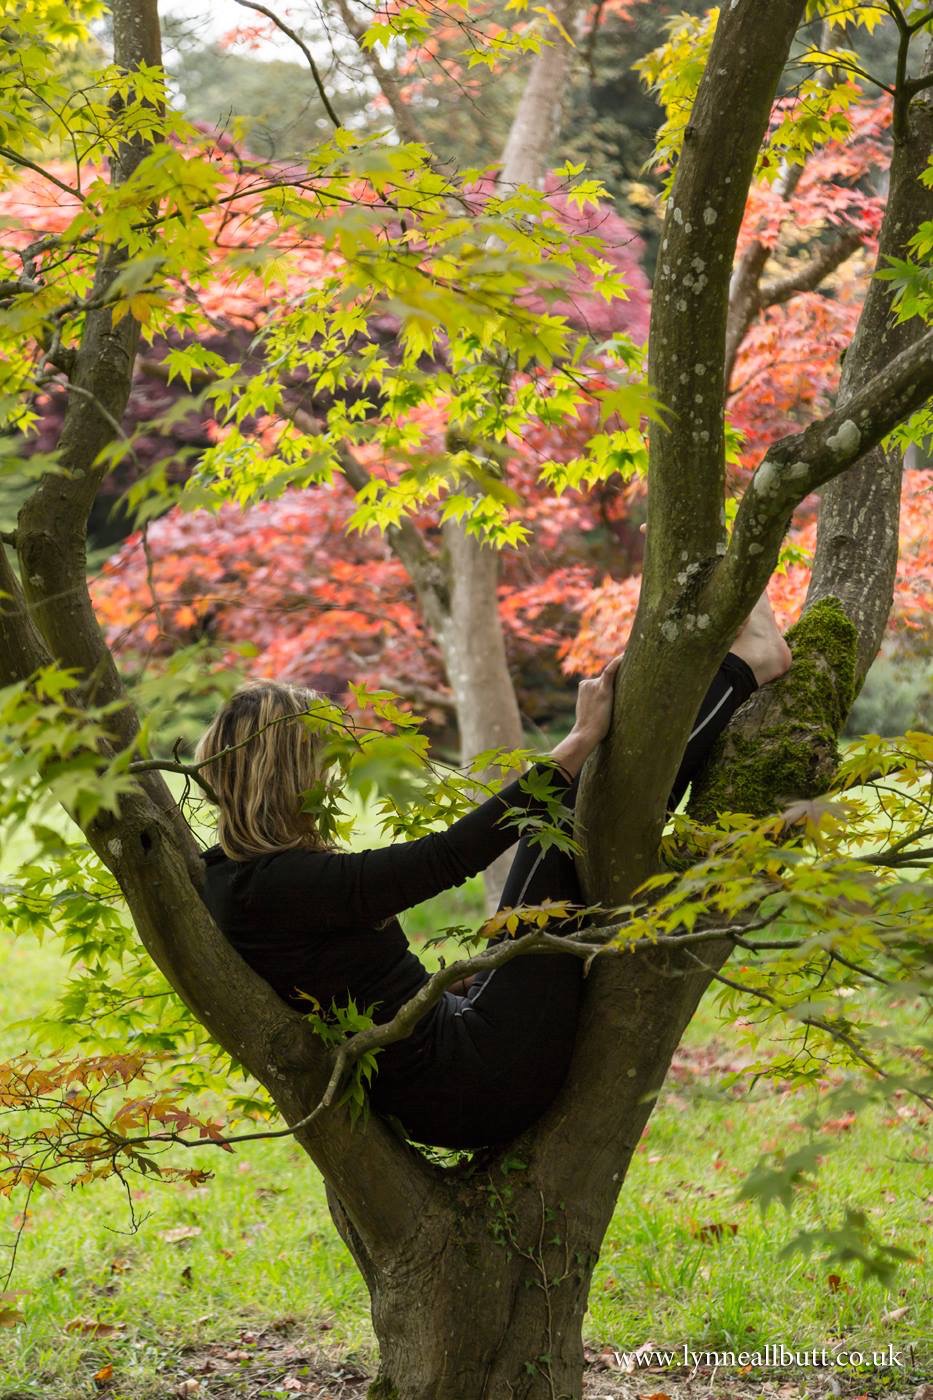 I’m still in awe of the beautiful autumn leaf colours, even though the leaf fall has become a bit more rapid after last weeks frosts.
I have been a bit ‘crafty’ this year, learning several new skills and crafts and if you are that way inclined, you may want to preserve the beautifully coloured autumn leaves and use them for greeting cards and or decorations.
My favourite method of leaf preservation is to put them into a glycerine and water solution. This method preserves the leaves yet they remain relatively flexible as the natural moisture present in the leaves is replaced by the glycerine solution, maintaining the leaf’s natural texture and form.
Simply mix one part glycerine and two parts water. You only need enough to submerge the leaves in a tray or a flat, shallow dish. Pour the solution into a flat pan, place the leaves in the solution, and then put a weight on the leaves to keep them submerged. Keep the leaves submerged in the solution for 4 or 5 days. Dry the leaves gently with a paper towel. They should feel soft and pliable.
Another option is the wax paper pressing method, but as I don’t own an iron, I haven’t tried this one.
 Place a leaf between two pieces of wax paper and put a towel or a piece of thick paper over the wax paper. Press on the towel or paper with a warm iron to seal the wax sheets together, which will take about 2-5 minutes on each side, depending on how moist the leaf is. Once you have finished one side, flip the leaf over and do the other side. Cut around the leaf, leaving a small margin of wax paper to ensure that it will stay sealed.
You may want to try to peel the wax paper off the leaves, instead of cutting them out, leaving a coat of wax behind to protect them. Try this on one leaf first to see if it works.
And then there is the microwave method but I haven’t got a microwave either. You do have to be careful with this method and make sure the leaves don’t catch fire in the microwave.
Arrange the leaves on top of two paper towels and lay another towel over the leaves to cover them. Microwave the leaves for anywhere between 30-180 seconds. Be careful and keep checking them often. The drier the leaves, the less time they will need. Leaves that curl after removing from the microwave have not been in long enough. Leaves that are scorched have been in there too long. Just dry them for a few seconds at a time. Let the leaves sit for a day or two and then finish by spraying an acrylic sealant on both sides of the leaves.
I’ll ‘leave’ the crafty ideas up to you …
Magnolia Magic
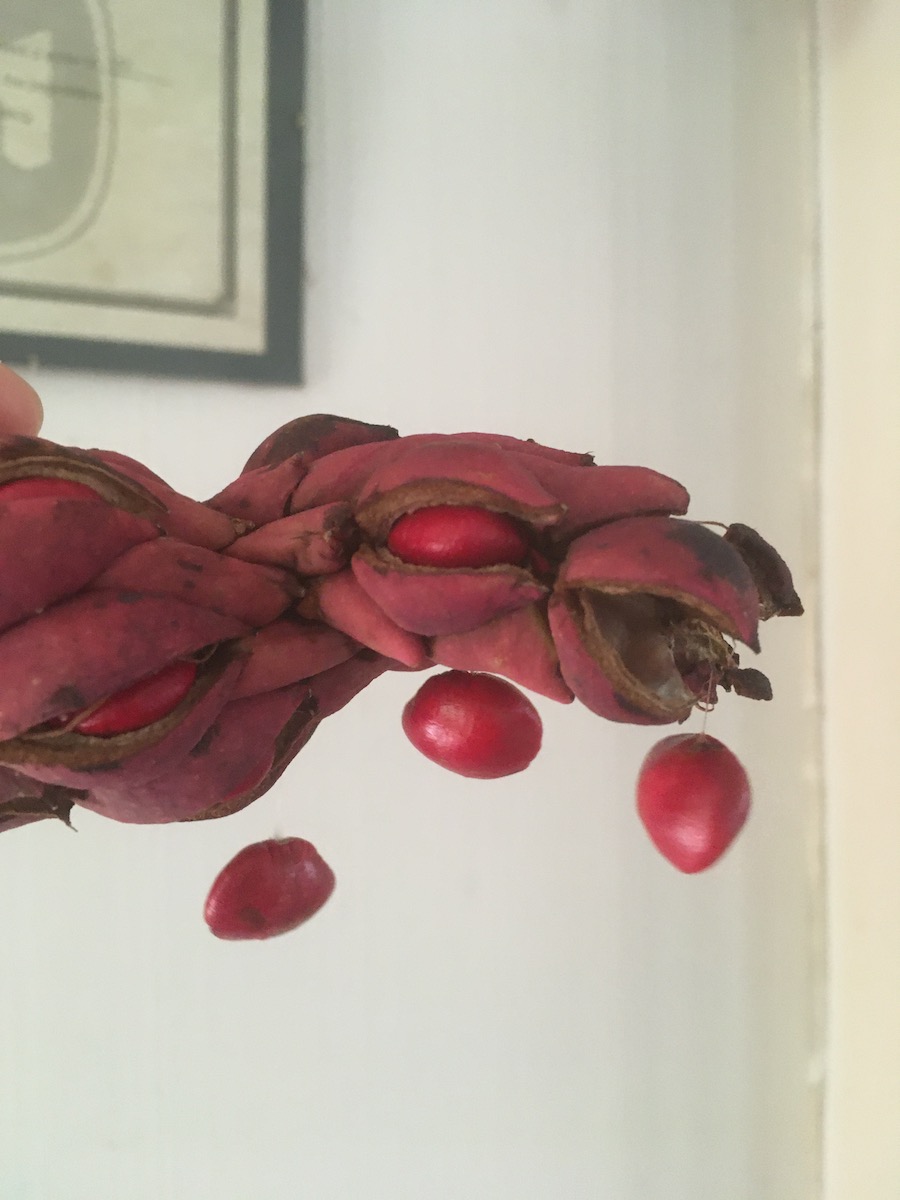
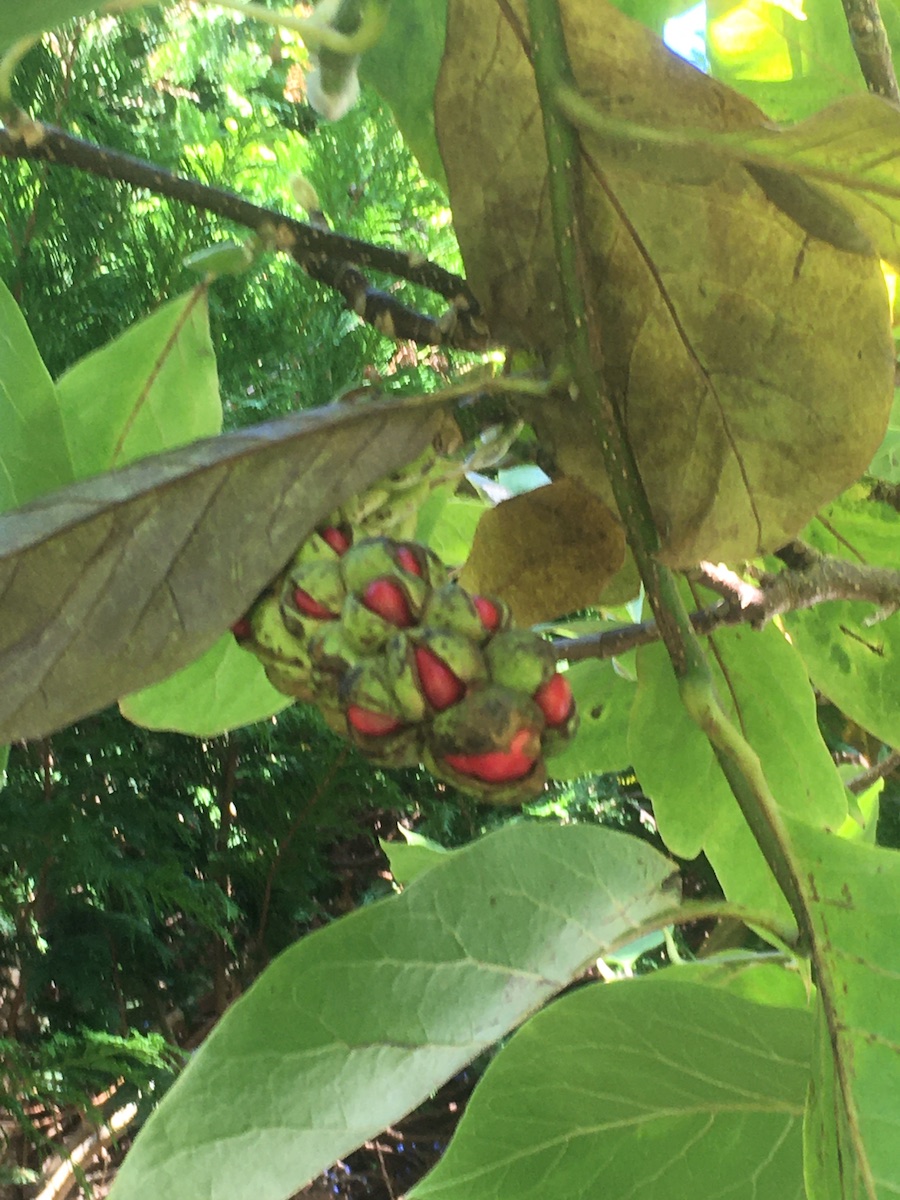 Nature never ceases to amaze me, and this week I discovered the amazing tactics Magnolia trees use to exploit the birds to spread their seeds. The seedpod of a Magnolia tree is an engineering feat in itself – a heavy, gnarled, industrial cone-type structure, called a follicle – allowing individual ‘cases’ to ripening slowly and open to reveal the jewel-like blood red berries inside. These are then lowered out of their casing on a long, strong silk thread to twirl in the wind and attract the birds, which eat the berries and ‘recycle’ the seeds. The squirrels add to the process by clearing up the ones on the ground.
Just as incredible, is the process of germination. To harvest the seed, berries need to be picked when they are bright red and fully ripe. Soak the fleshy berry in lukewarm water overnight. The next day, remove the outer coating from the seed by rubbing it against hardware cloth, or sometimes just squeezing hard.
 Magnolia seeds need to go through a process called stratification in order to germinate. Place the seeds in a container of moist sand and mix well. Place the container in the refrigerator, undisturbed, for at least three months or until you are ready to plant the seeds. When you bring the seeds out of the refrigerator, it triggers a signal that tells the seed that winter has passed and it’s time to ‘get growing’.
Leave a Reply